¶ Introduction
Wahtari nVision is a cross-platform UI desktop application available for Linux and Windows.
It can also run with a reduced feature set on Android (Mac/iOS support will come in the future).
nVision acts as the main tool to discover, manage and interact with your Wahtari nCam.
In summary, its core features are:
- Automatic discovery on local network via UDP broadcast
- System overview and status of the connected nCam
- Video streams in different quality and codec configurations
- Full access to all driver features of the camera sensor
- Management of nApps
- Two distinct users, named ‘admin’ and ‘viewer’, for simple permission control.
- Debug logs of the connected nCam
¶ Automatic Discovery
The nVision application starts searching for nCams on the local network upon startup. It uses UDP broadcasting to find nCams responding to these broadcasts and subsequently shows them in the list of available cameras.
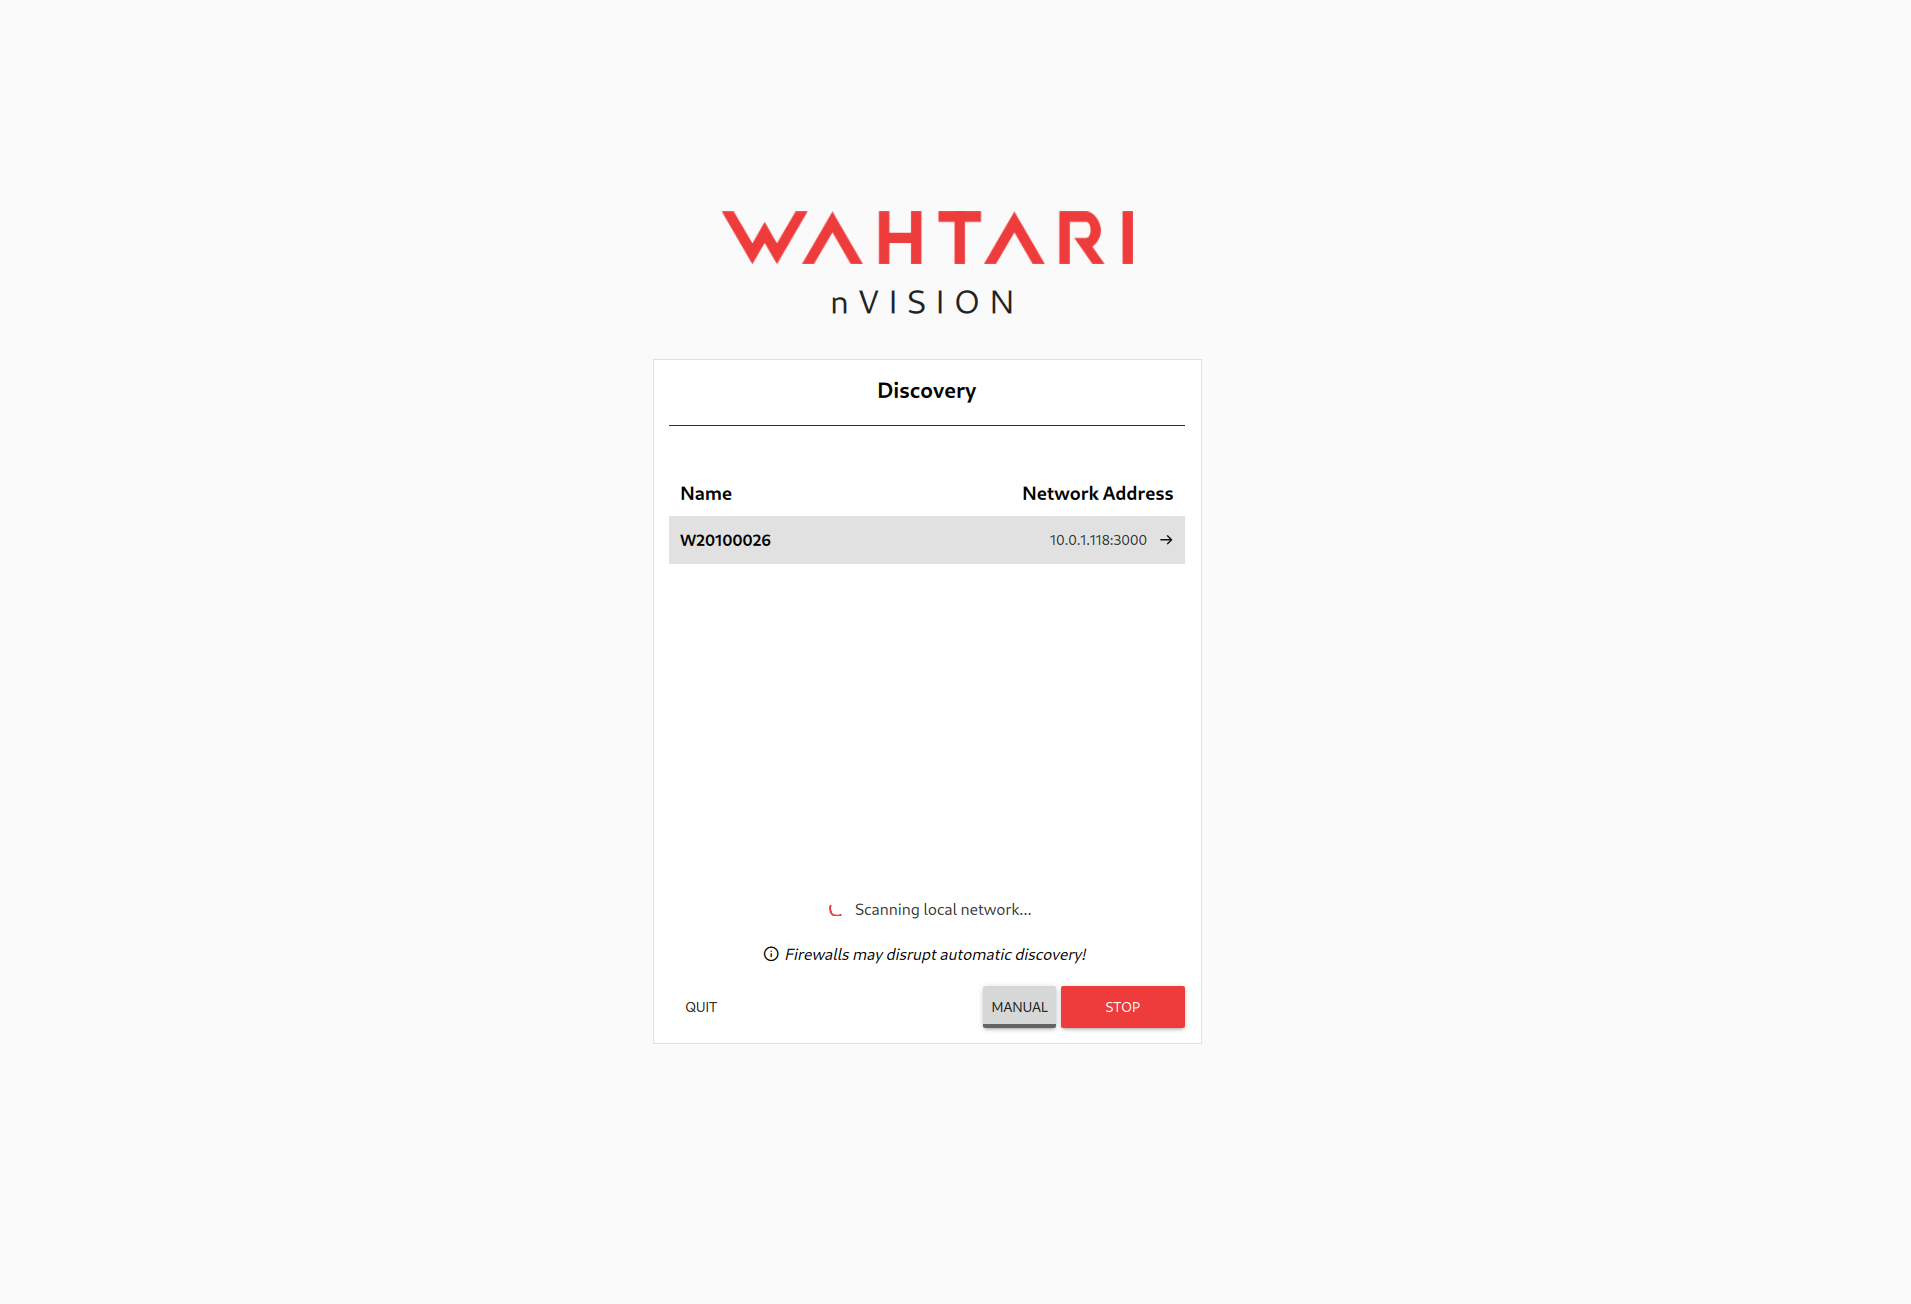
In this example, one nCam has been found, named W20100026, and its IP address is 10.0.1.118.
Please note that firewalls can disrupt automatic discovery. If your camera does not show up, check your network configuration.
If the discovery does not yield any results, you may also enter an IP address manually by clicking on the Manual button. You do not need to specify a port, the IP address is enough.
¶ Managing nApps
nApps are small docker images that bundle the functionality of an application with all its dependencies for easy deployment onto the nCam.
See the nApps page for more information about them.
The following sections shortly describe how to create an nApp using nVision.
¶ Create
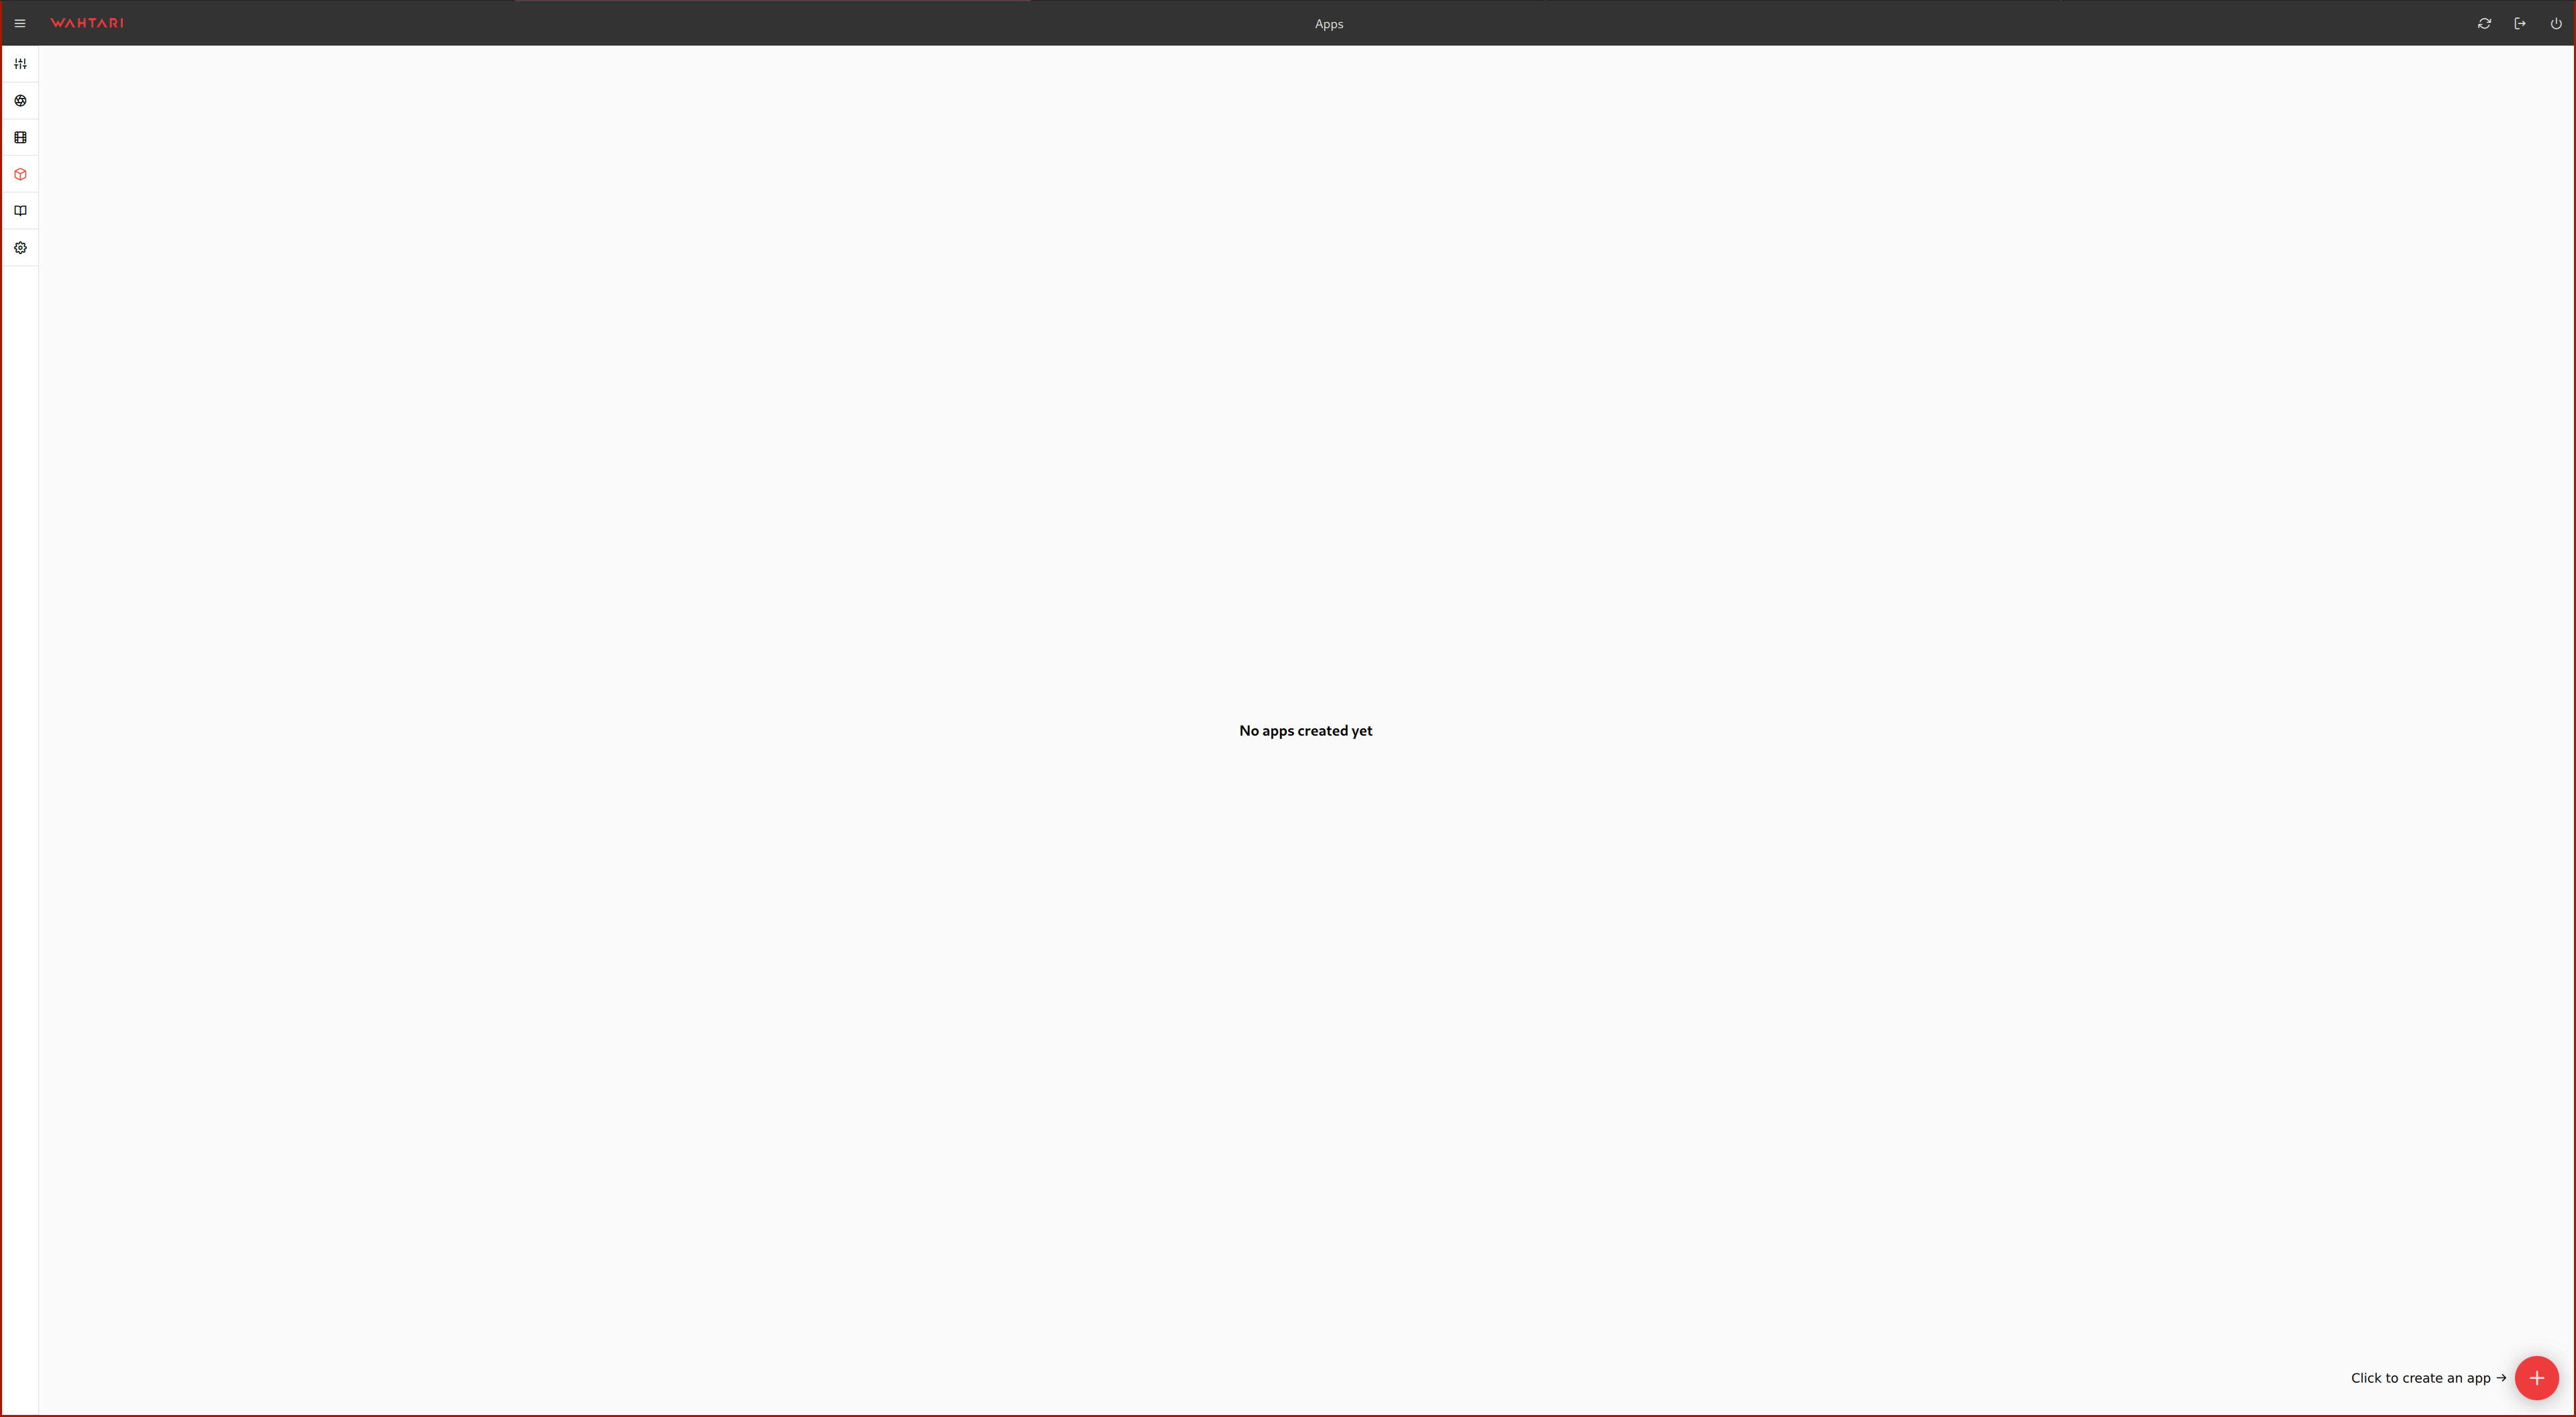
After navigating to the Apps page by clicking on the corresponding icon in the side bar, you will see the overview of nApps.
In the beginning, there are probably no nApps, so your page might look like this:
To create a new app, click on the red + button in the bottom right corner. A dialog opens, where you can enter the basic information about your new nApp.
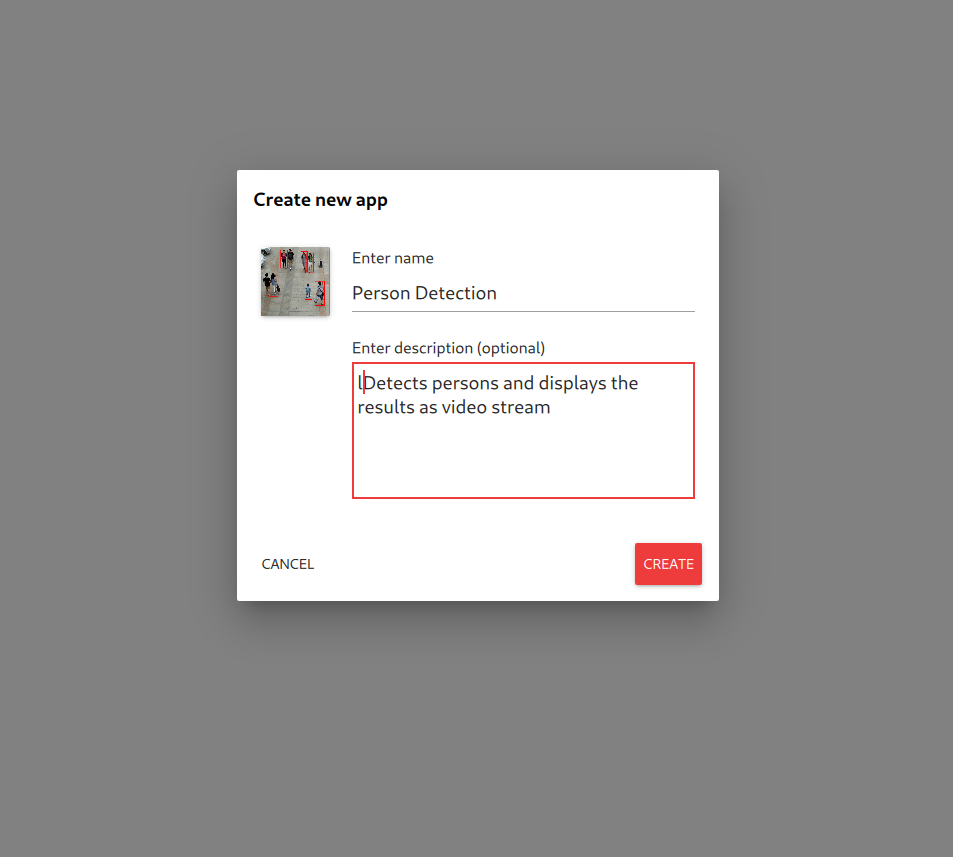
When you are ready, click on the red Create button.
You have successfully created your first nApp. Great!
The name of your nApp must be unique.
¶ Edit & Config
The overview now displays the just created nApp.
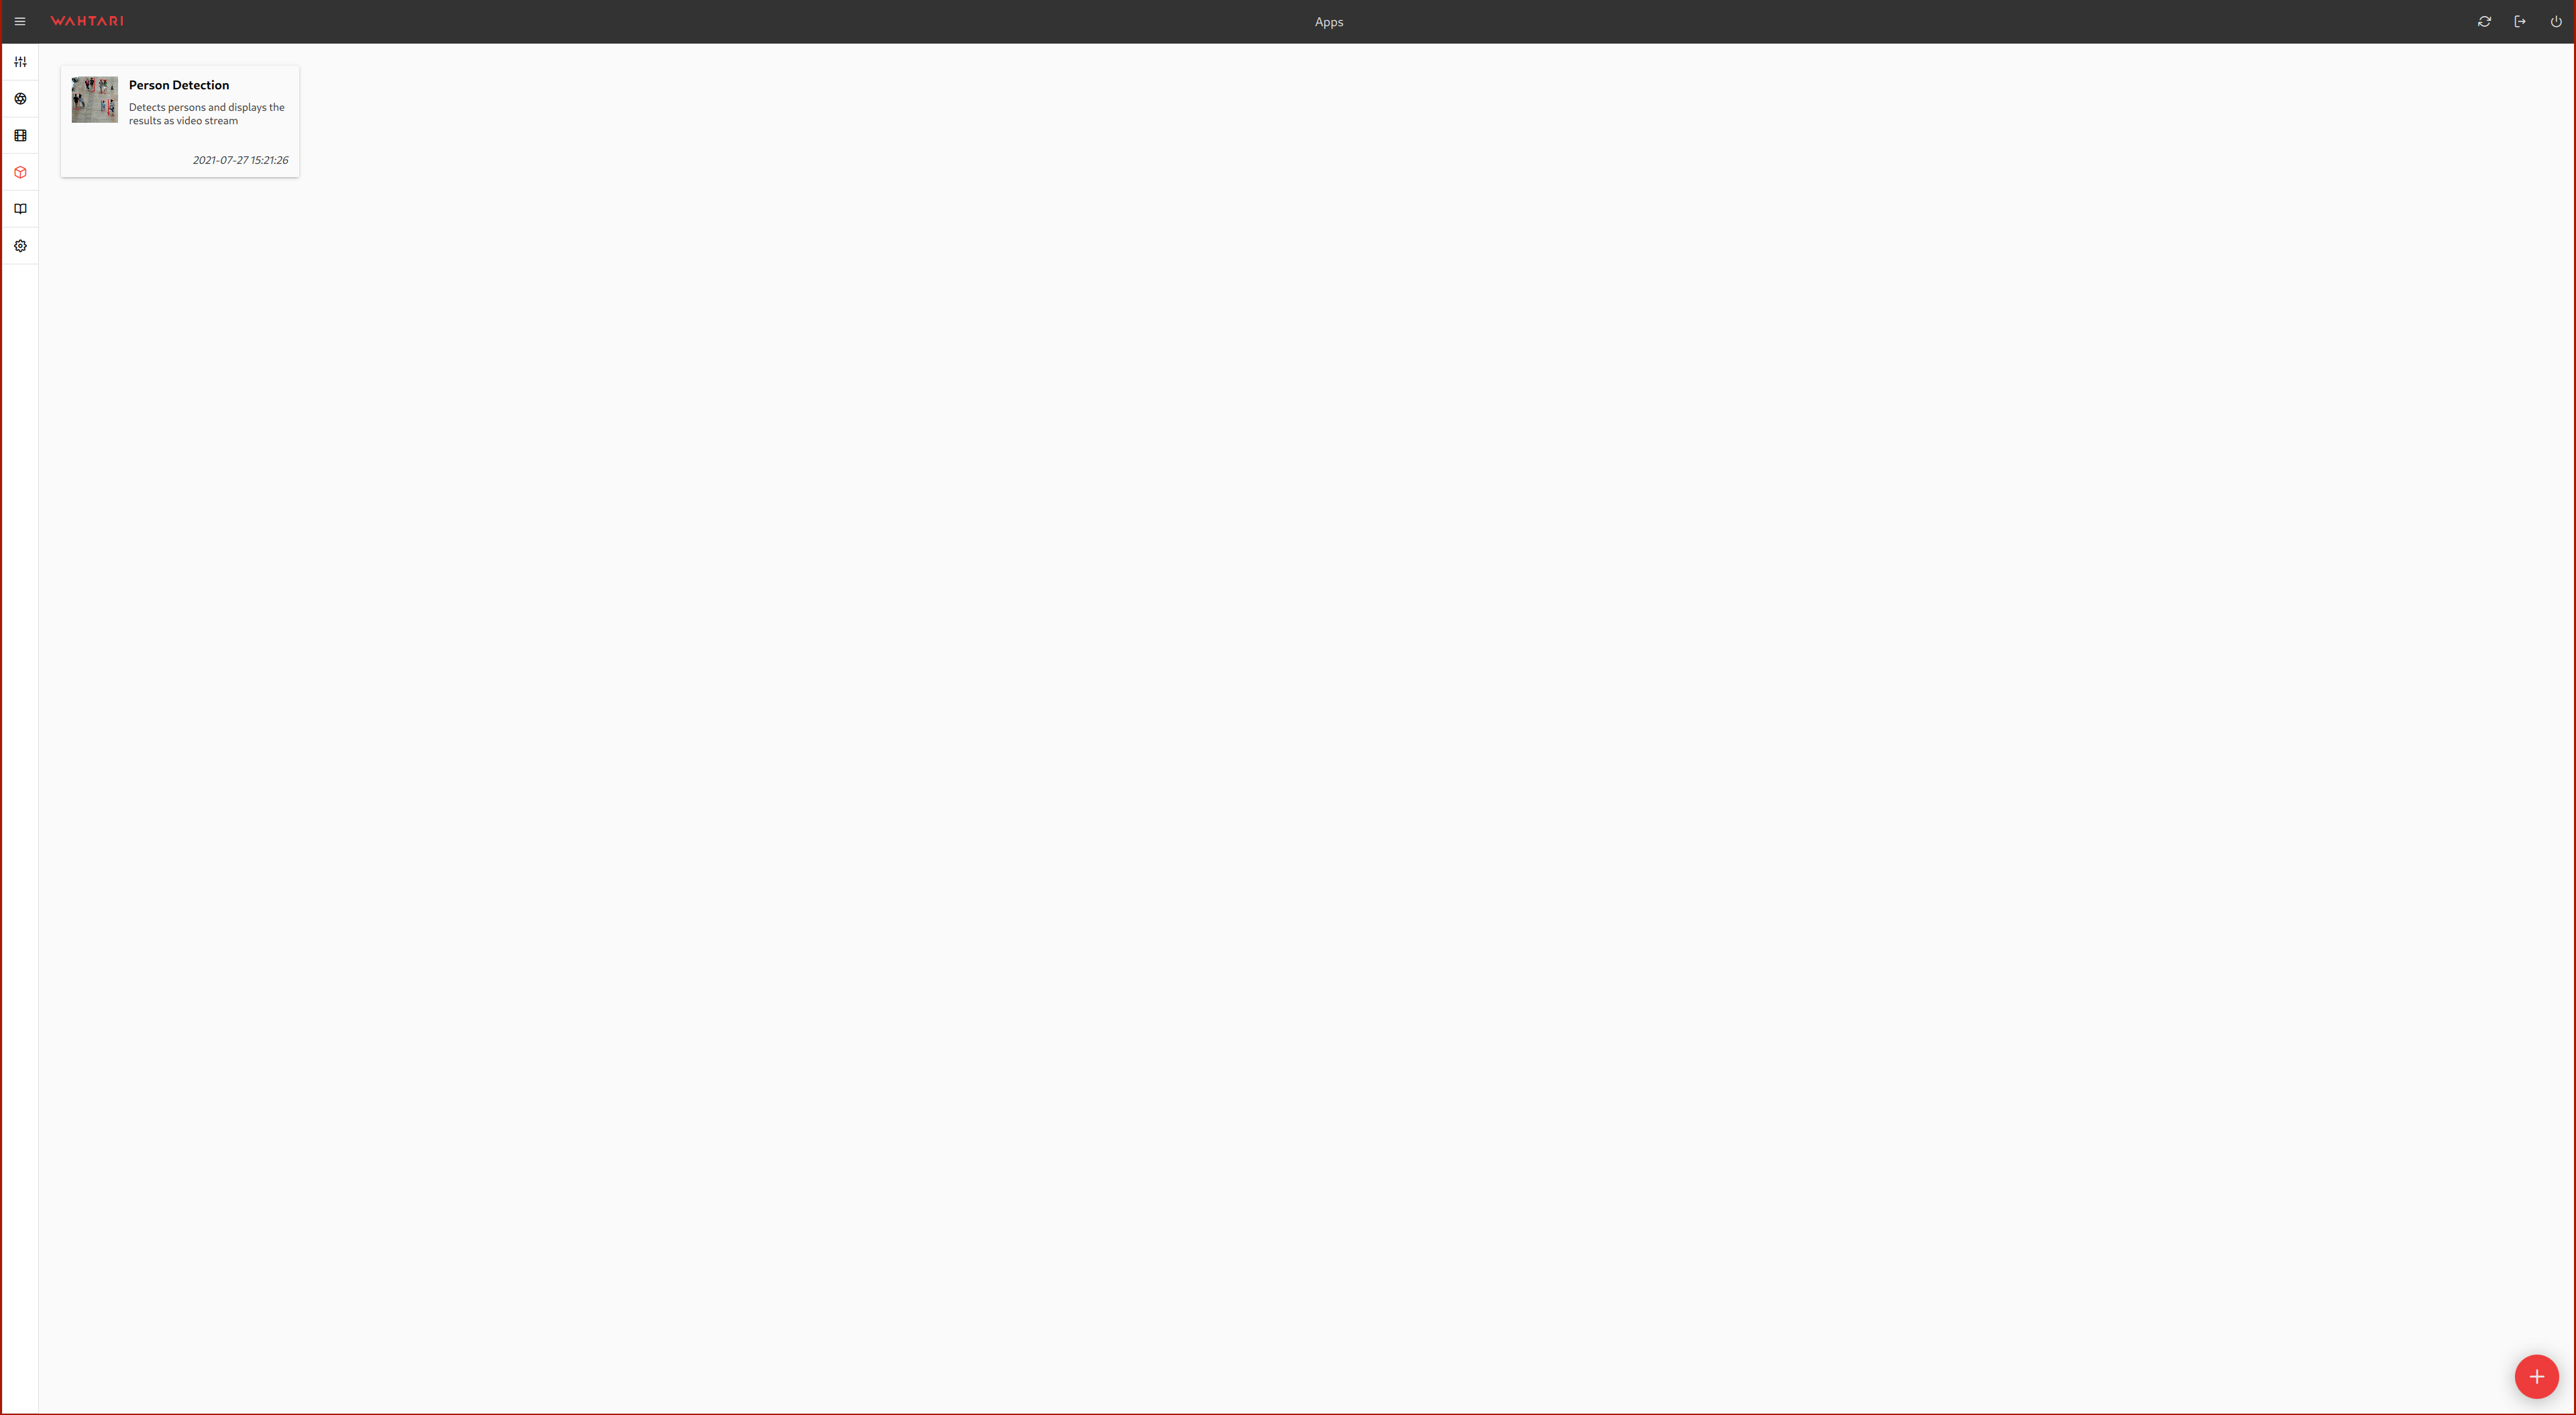
To configure your new app, click on the app card to enter the details page.
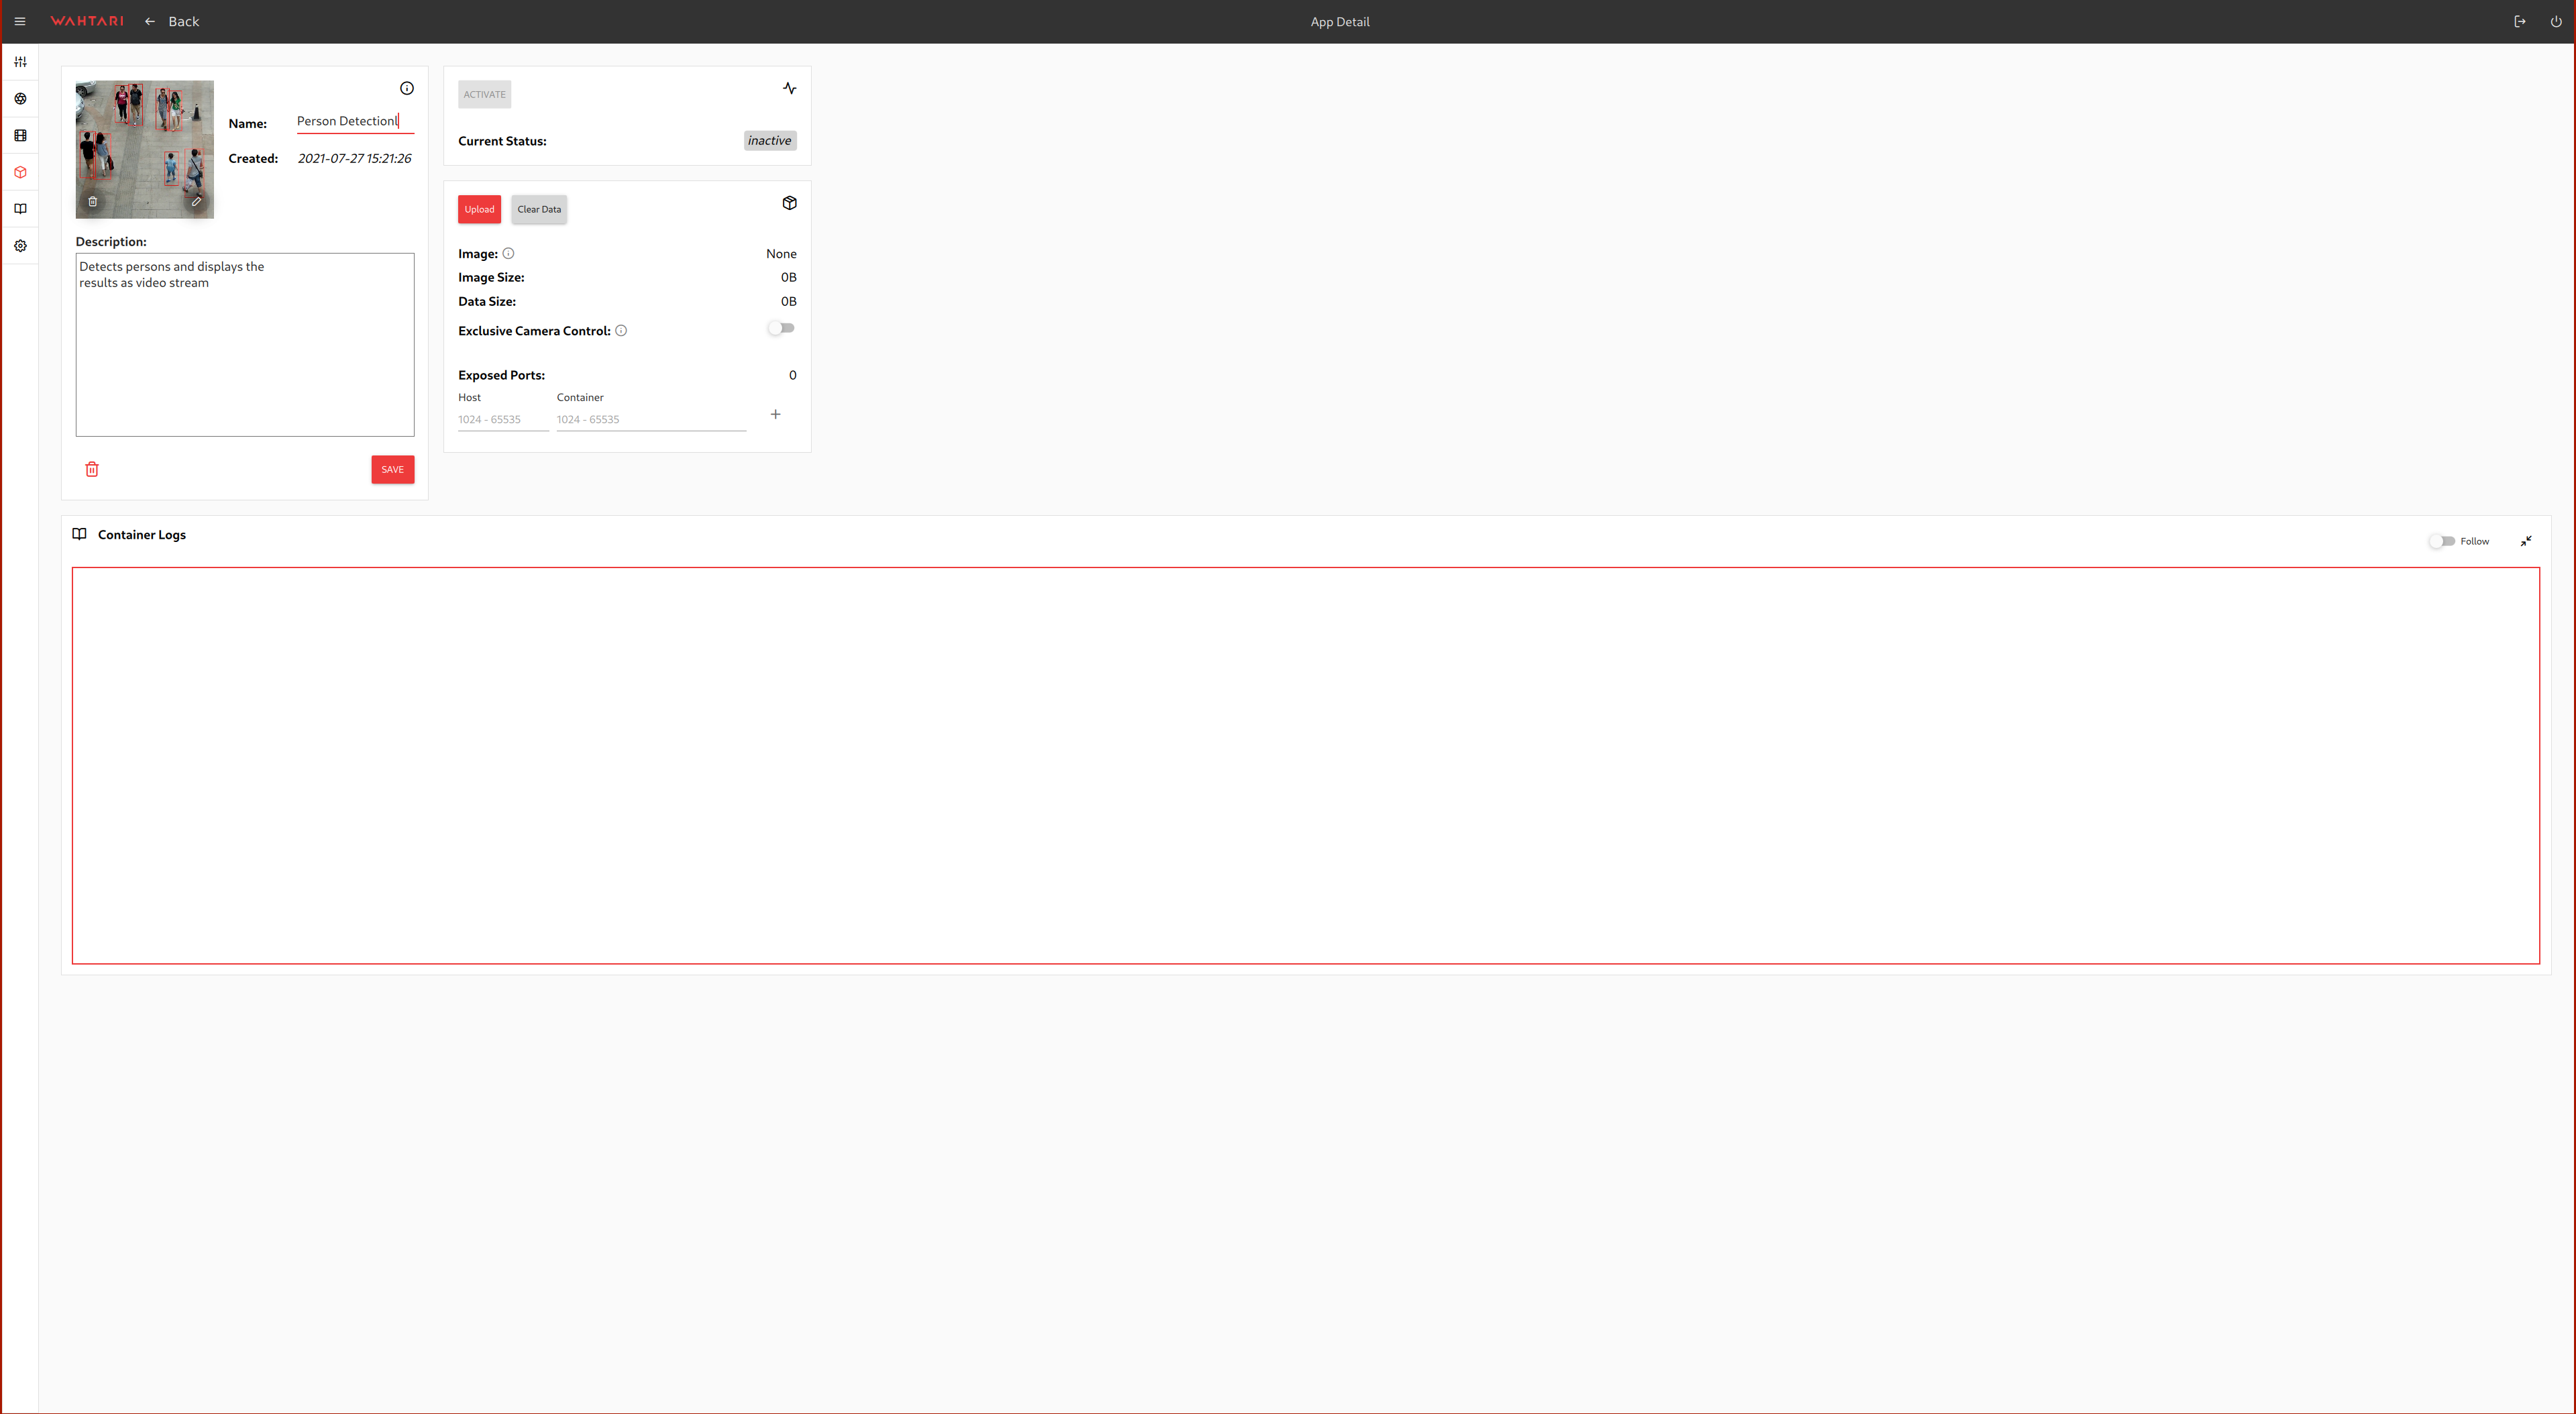
Here, you can change the basic information, upload a docker archive containing your nApp’s application, and configure it.
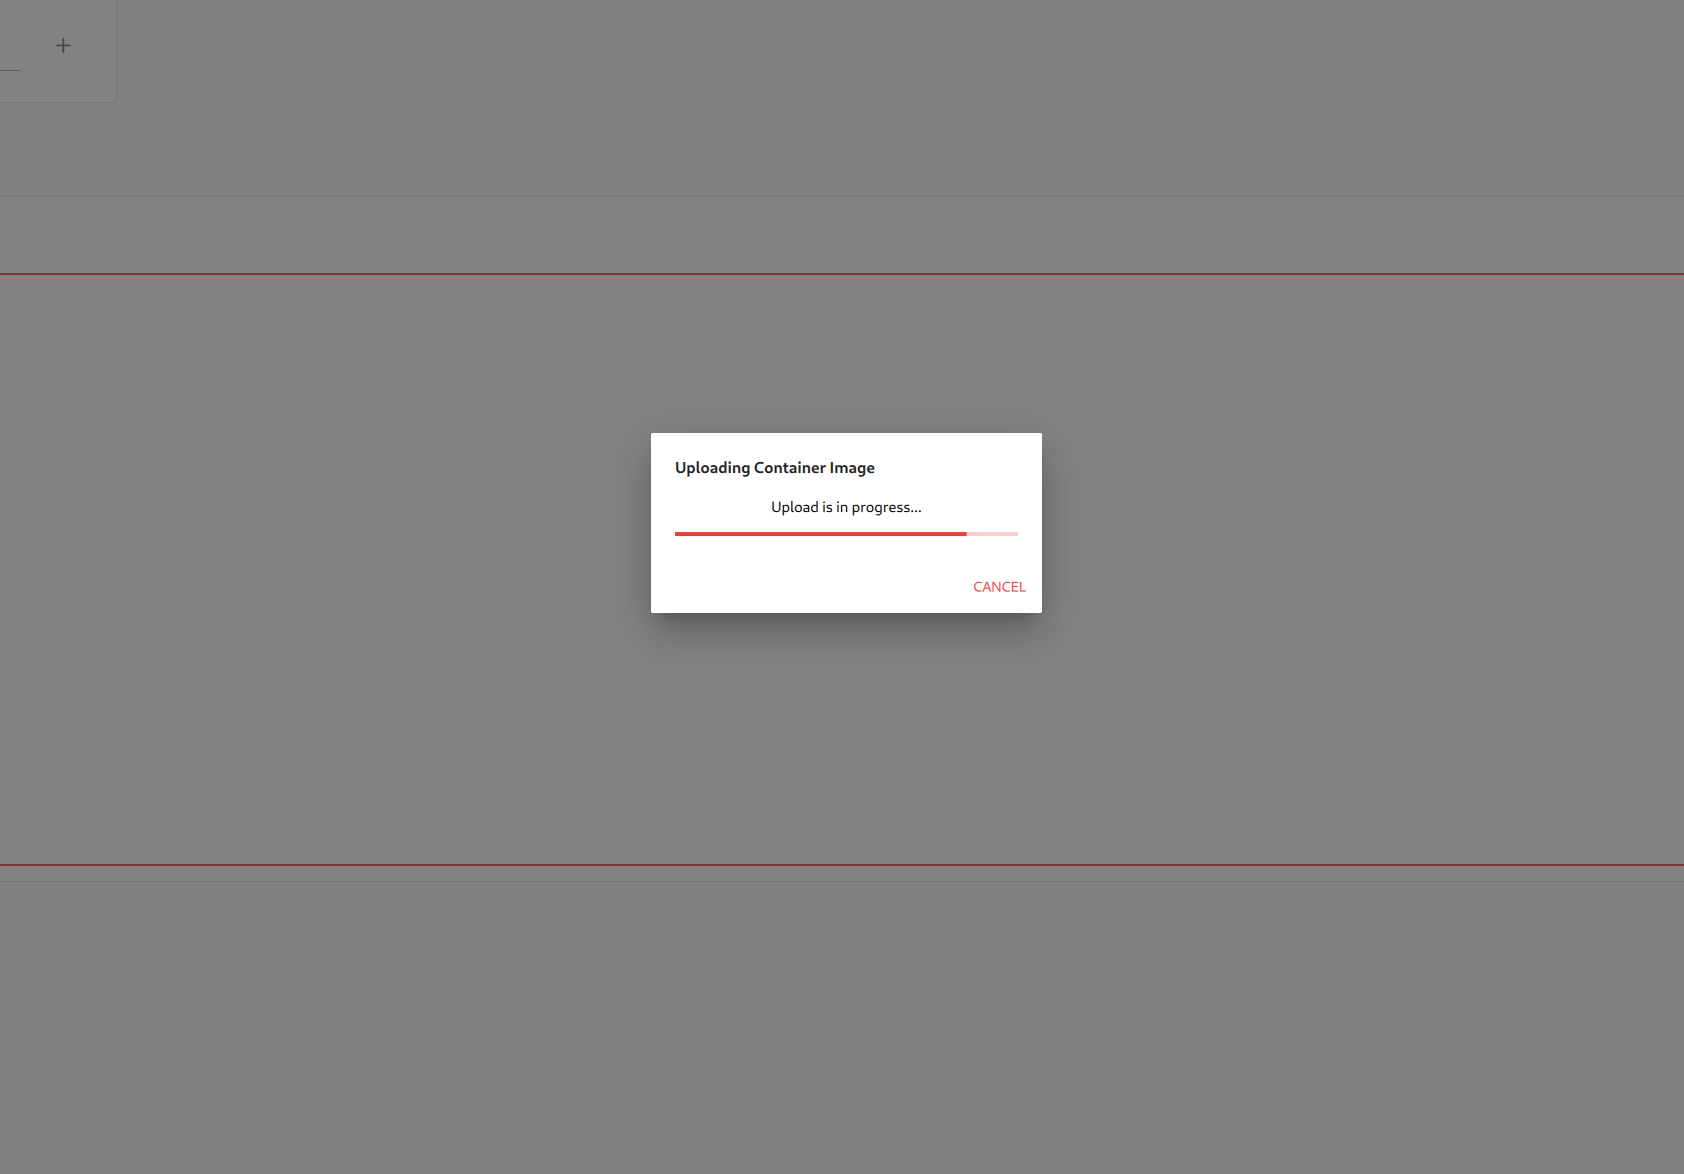
By clicking on the red Upload button, a file dialog opens. You should then select the .tar file of your nApp.
A dialog will appear that displays the progress of your upload.
Once its finished, you can for example also map ports from the container to the host system (the nCam) or give your nApp exclusive control over the camera sensor.
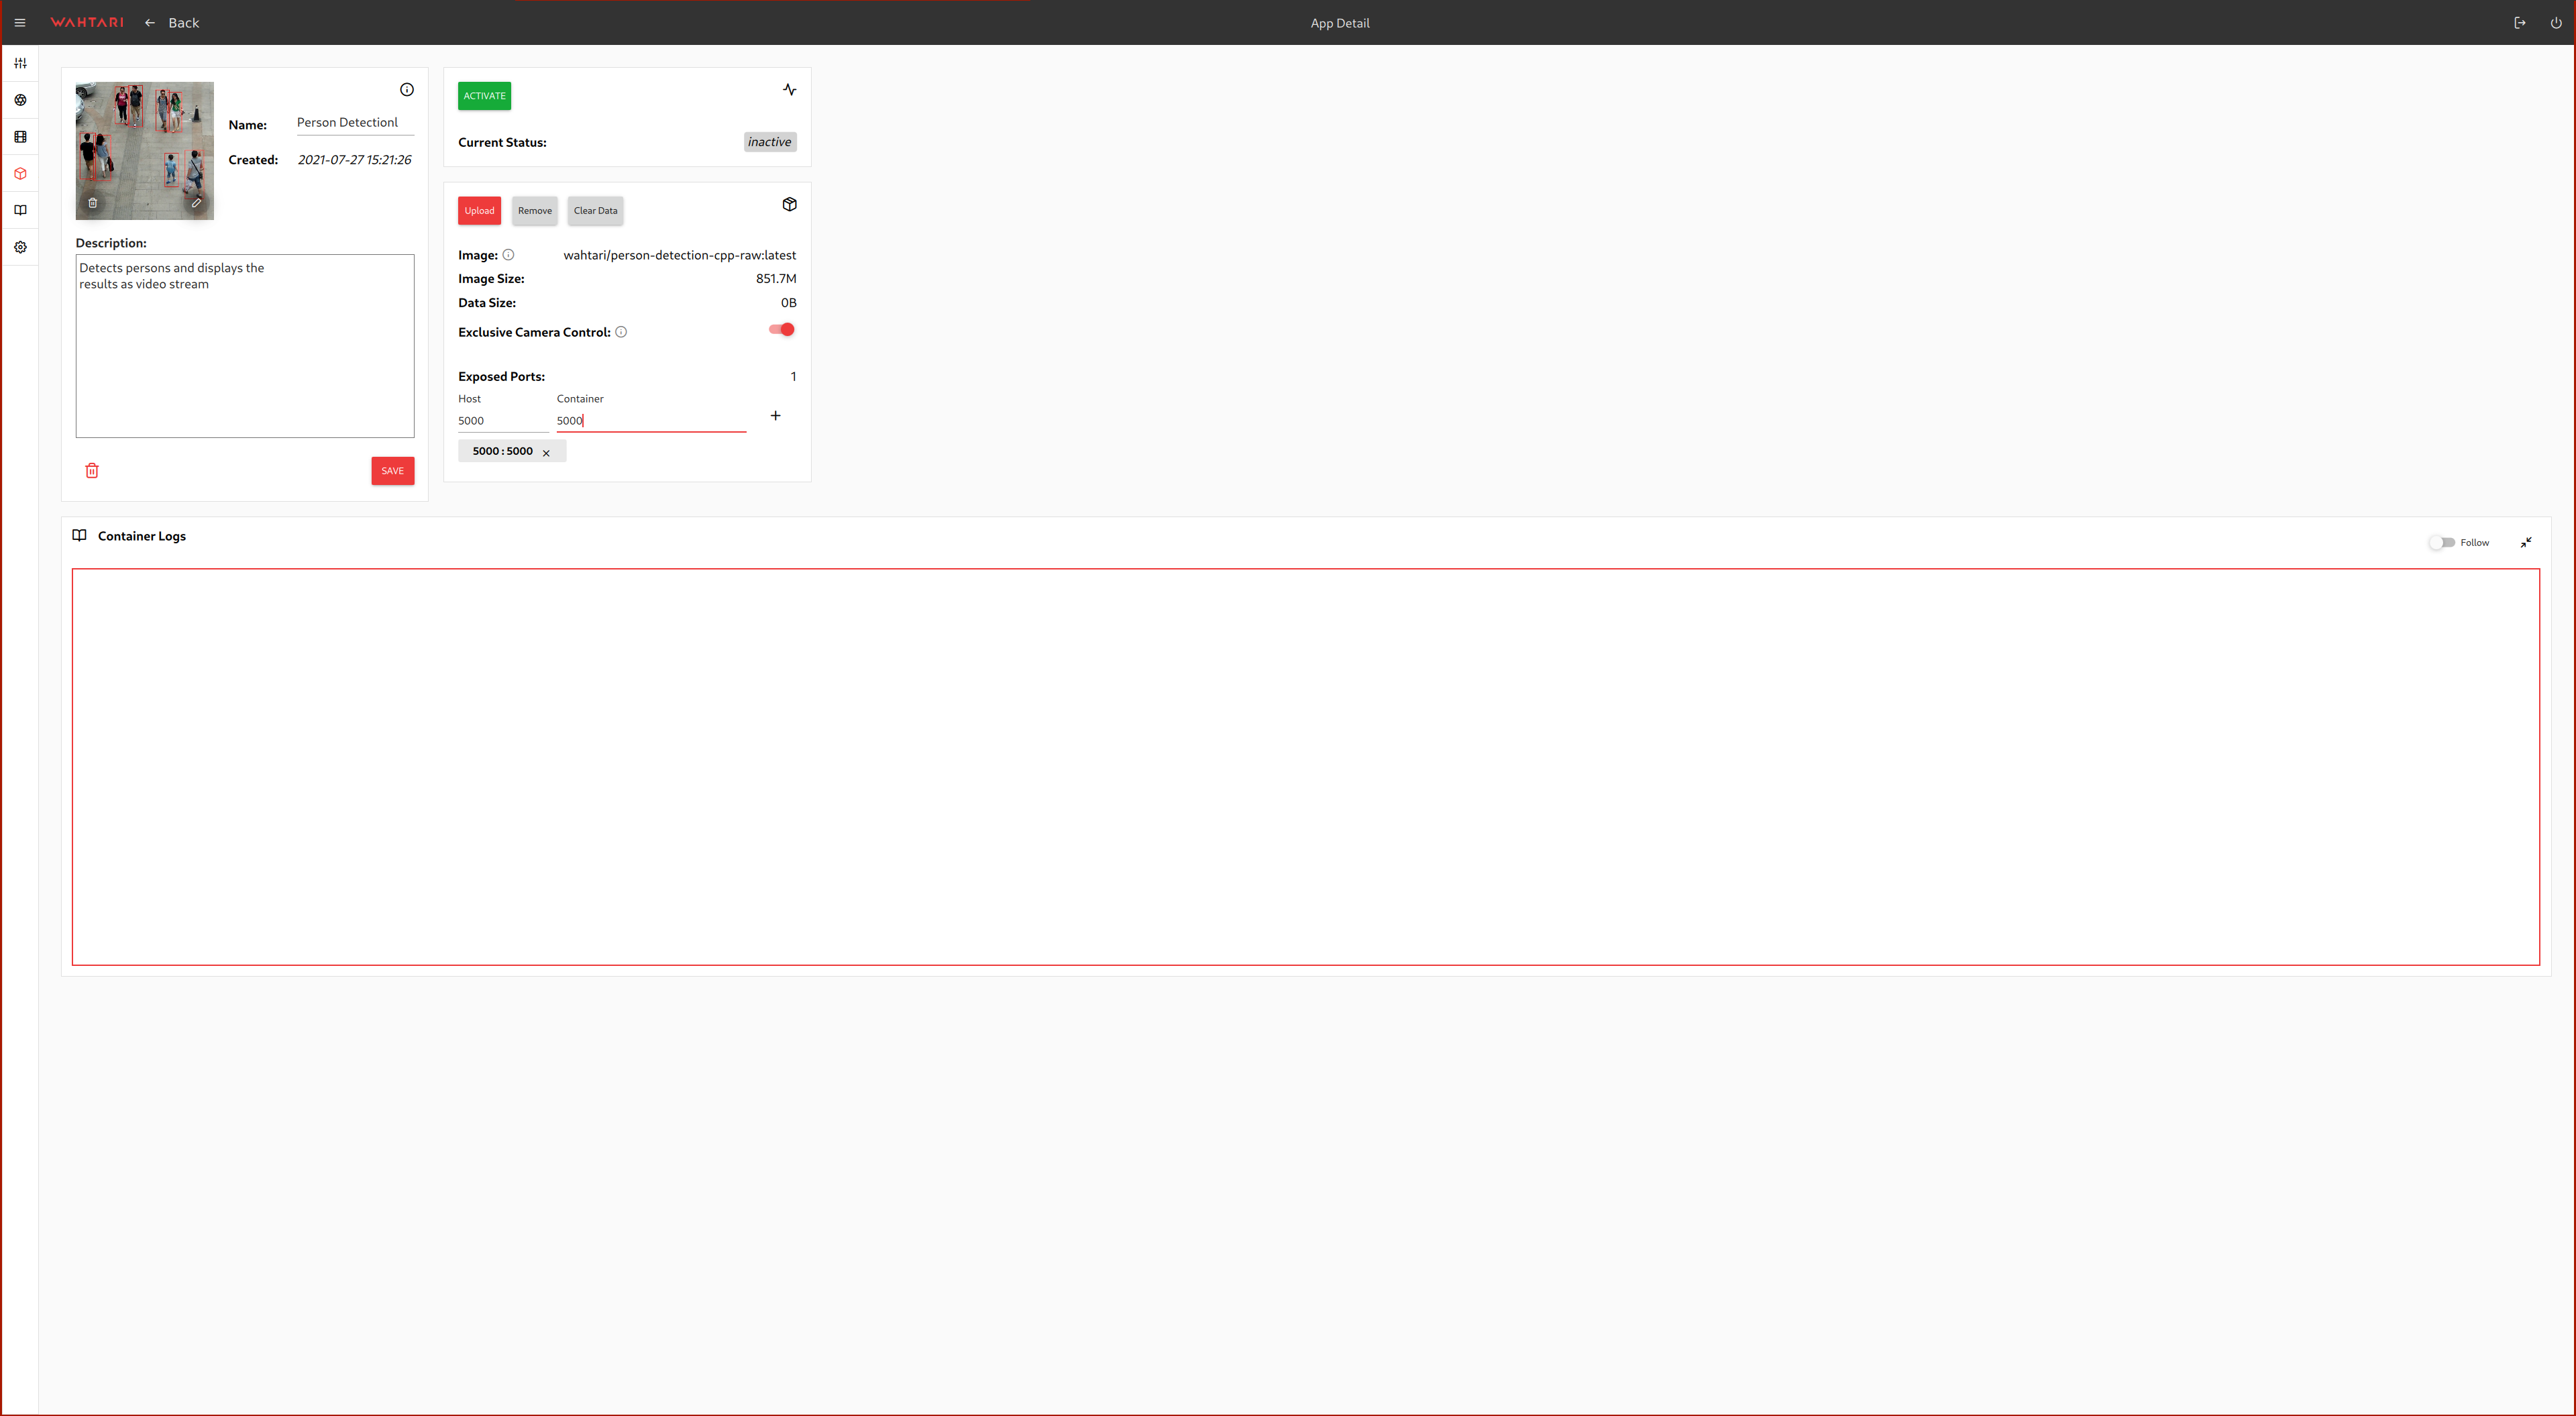
You have uploaded your first nApp image. Nice!
¶ Run
After uploading the docker image, you can now start your nApp. Just click the green Activate button.
You can also see the logs being printed by your container in real-time. Just check the Follow switch in the Container Logs section.
It then might look like this:
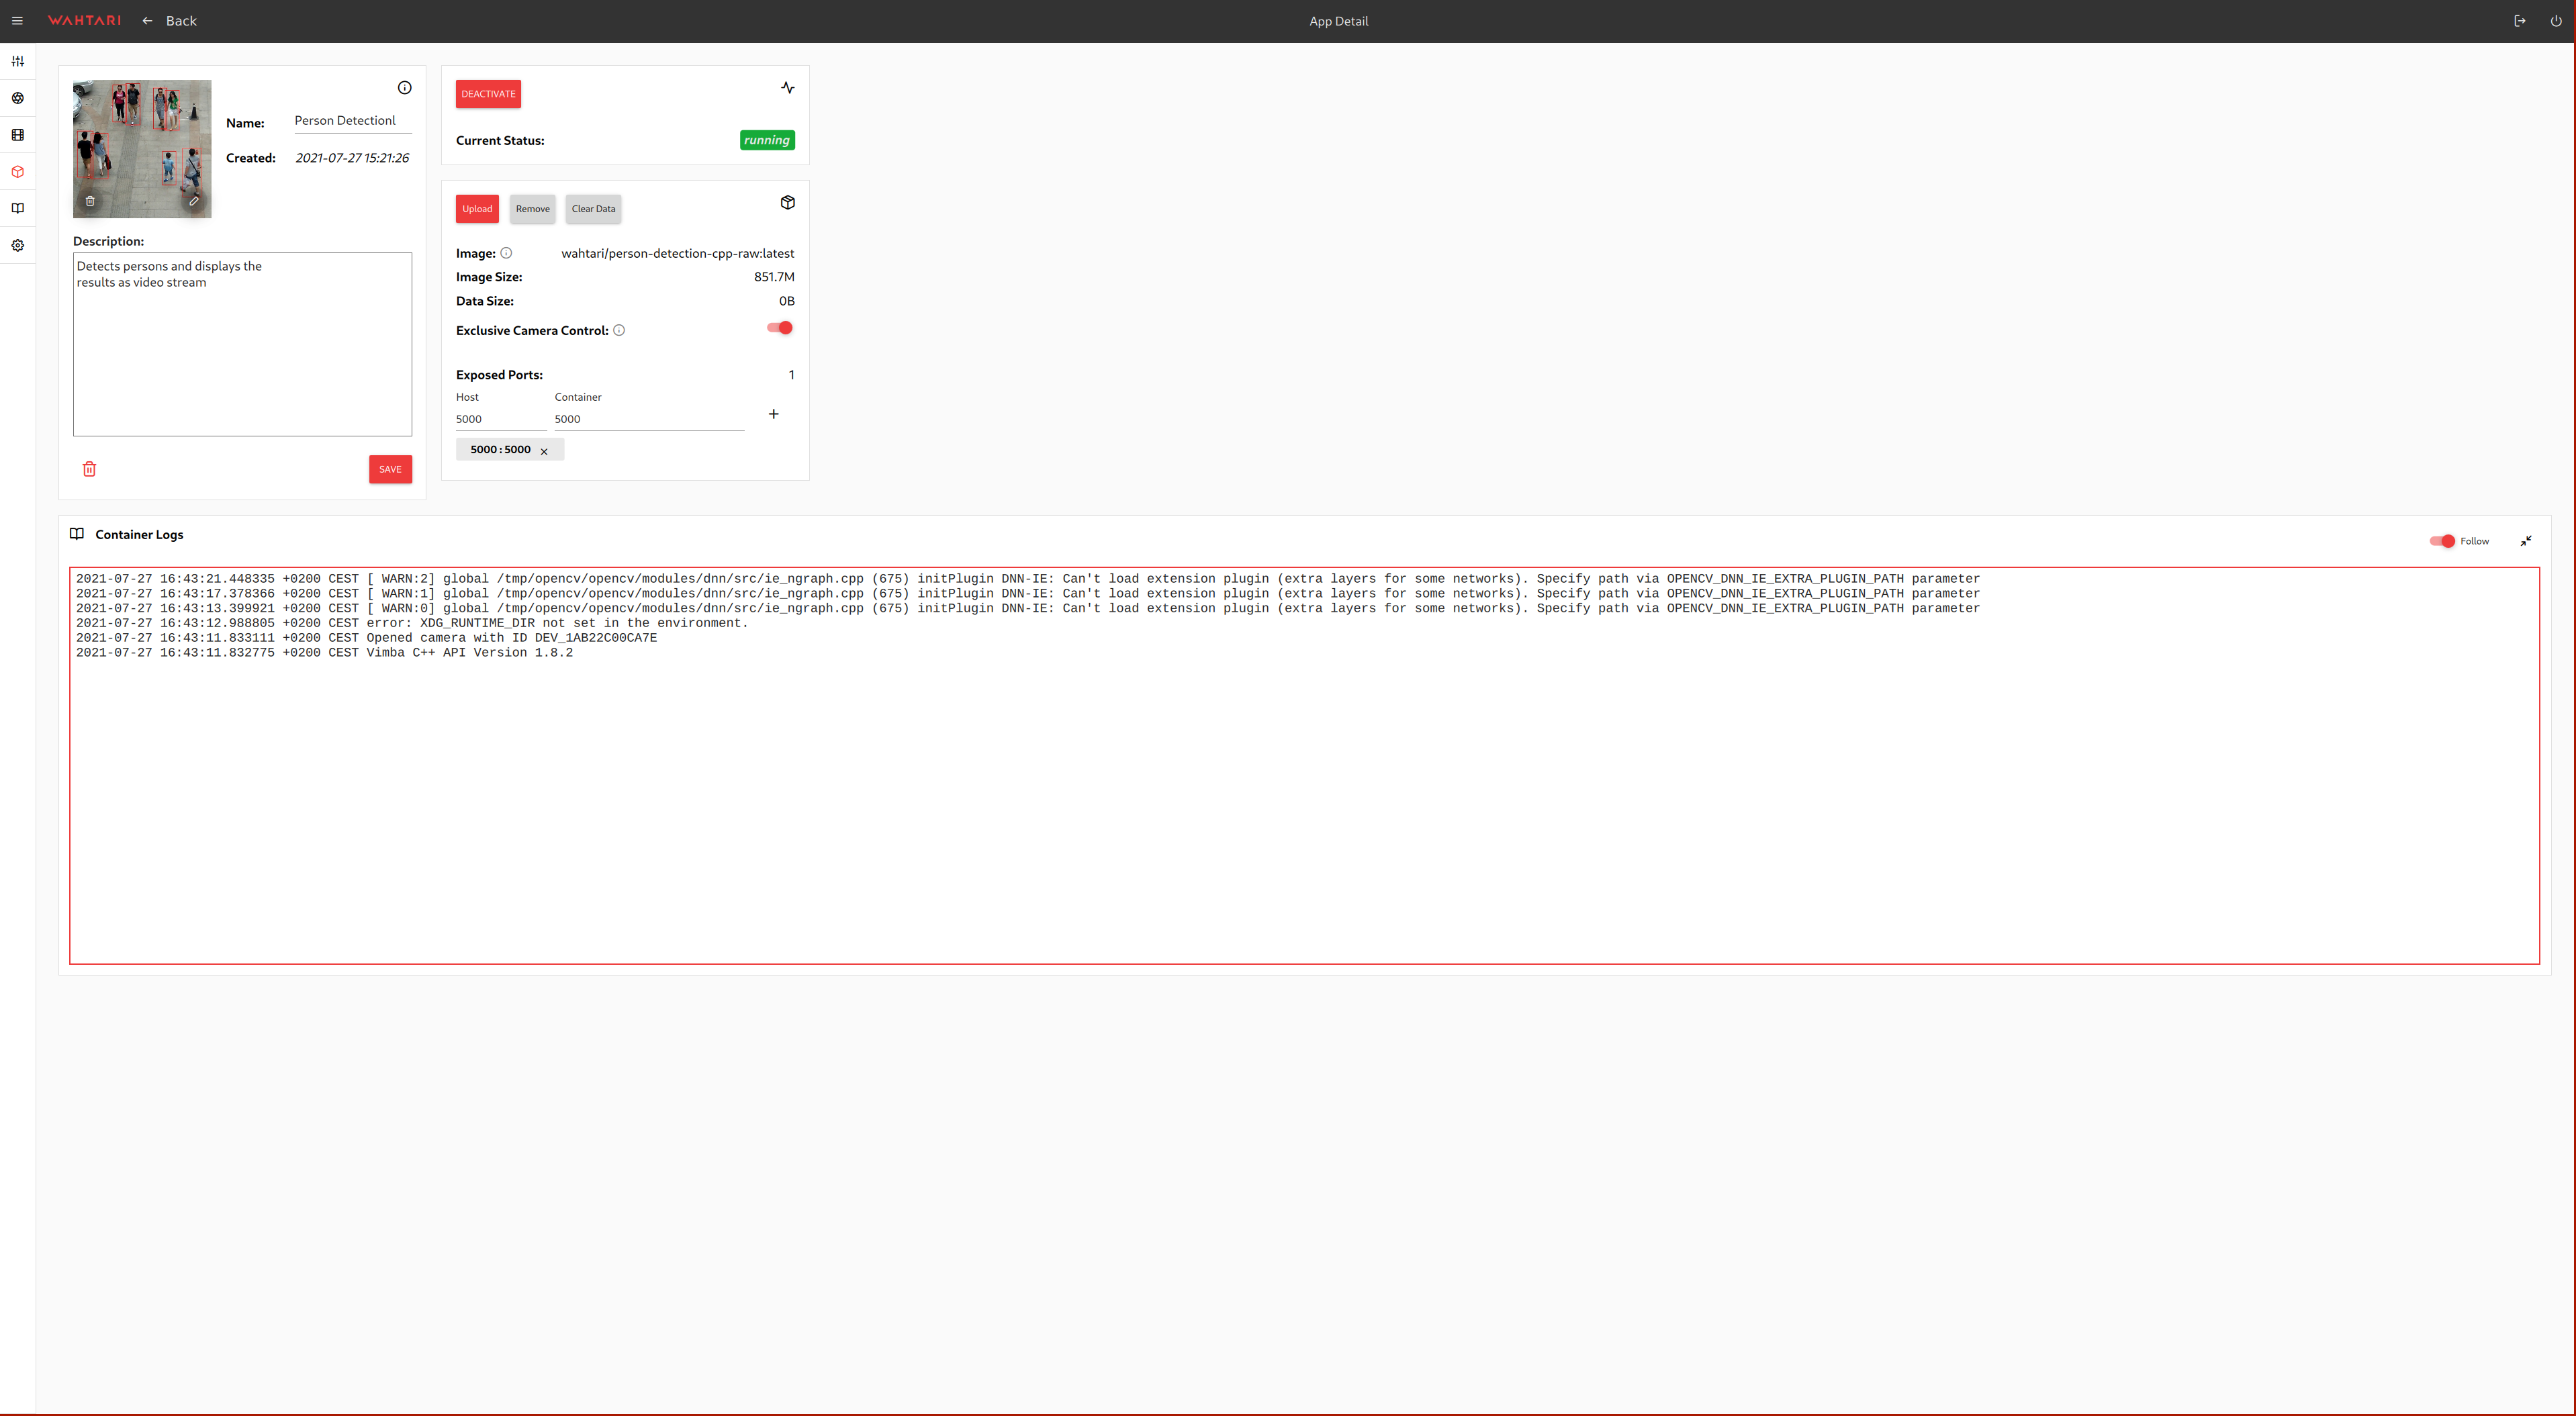
You have started your first nApp. Neat!